
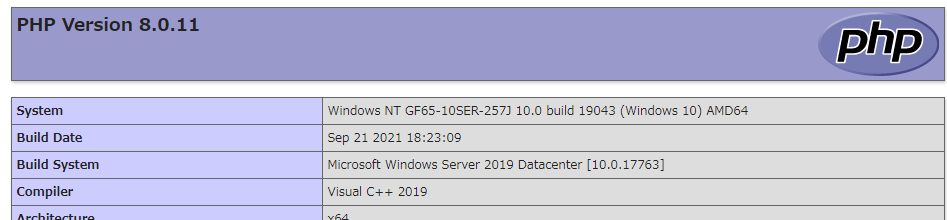
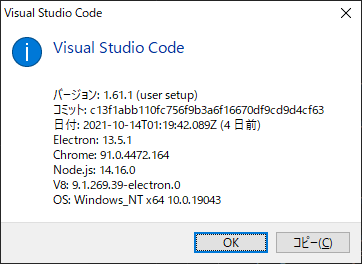
使用したバージョン
Visual Studio Codeの準備
インストール

Download Visual Studio Code - Mac, Linux, Windows
Visual Studio Code is free and available on your favorite platform - Linux, macOS, and Windows. Download Visual Studio C...
code.visualstudio.com
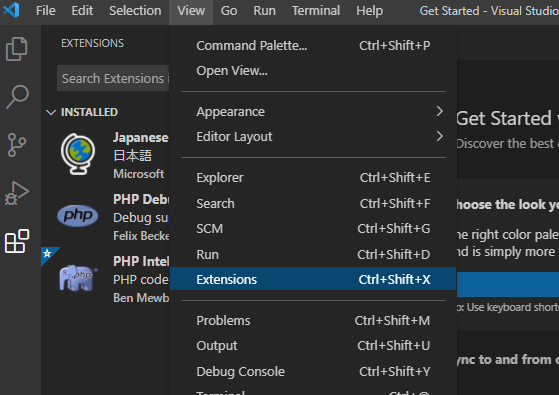
日本語化
View-Extensions
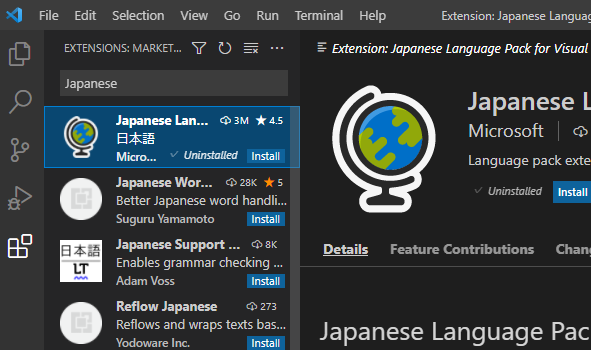
検索窓に「Japanese Language」と入力してInstallクリック、再起動すると日本語化完了
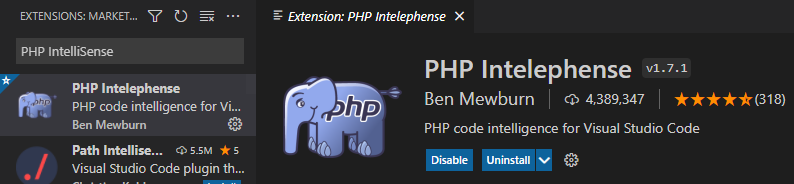
PHP拡張機能をインストール
先ほどの検索ボックスに、「PHP IntelliSense」と入力してインストール
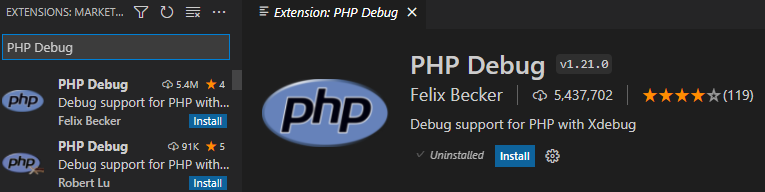
先ほどの検索ボックスに、「PHP Debug」と入力してインストール
同名の拡張機能があるが、Felix Bekcker氏の拡張機能をインストールした。
PHP側の設定
コマンドプロンプトを開き以下のコマンドを実行。
php -iの内容はクリップボードに張り付けられている。
php -i | clip
Xdebugインストール
Xdebugが必要なので以下のページにアクセスし、表示されているテキストエリアに張り付ける。

Xdebug: Support — Tailored Installation Instructions
Xdebug: A powerful debugger for PHP
xdebug.org
解析結果が表示されるので、画面の指示に一部従う
zend_extension = xdebugの項は無視してよい。

php_xdebug-3.1.1.8.0-vs16-x86_64.dll をダウンロードして c\xampp\php\ext にコピー
php.ini の編集
php.iniに以下の記述を追加する
[xdebug]
zend_extension=C:\xampp\php\ext\php_xdebug-3.1.1-8.0-vs16-x86_64.dll
xdebug.mode=debug
xdebug.start_with_request=yes
xdebug.client_port=9003
VSCodeでPHPをデバッグする
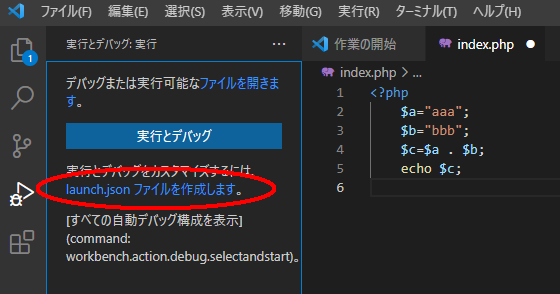
とりあえずデバッグできることを確認できればいいので以下のコードをテストしてみる。
<?php
    $a="aaa";
    $b="bbb";
    $c=$a . $b;
    echo $c;
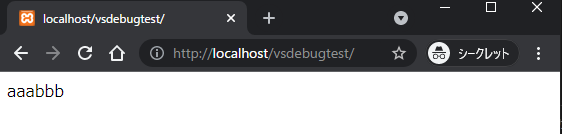
適当にローカルに立てたwebサーバーにアップロードしてブラウザで動作確認。
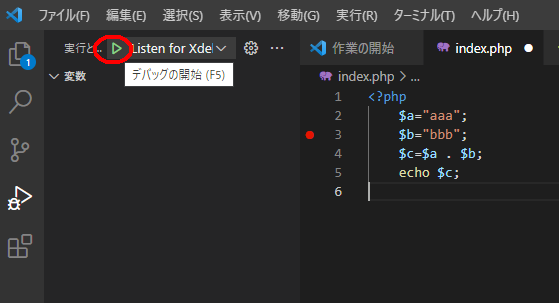
デバッグ開始
左端の三角マークをクリックする。

launch.json ファイルを作成
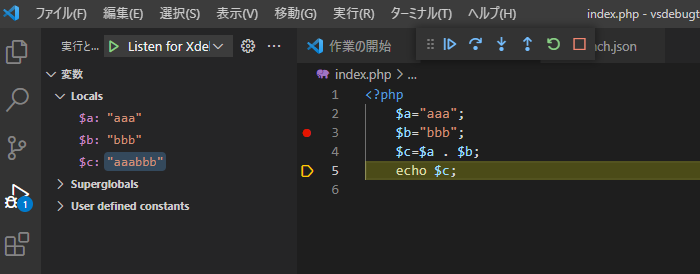
ブレイクポイントを設定して左の小さな三角をクリック
ブラウザでwebサーバーにアクセスするとブレークポイントで停止していることがわかります。
F10でステップ実行できます。

404 Not Found
localhost
ローカルでPHPをデバッグ
Launch currently open scriptを選択してデバッグを開始するとPHPスクリプトが即時実行される。


コメント